NEC NHD-3000PVR User Manual
Browse online or download User Manual for TV set-top boxes NEC NHD-3000PVR. NEC NHD-3000PVR User's Manual
- Page / 63
- Table of contents
- BOOKMARKS
- NHD-3000PVR 1
- Warnings 3
- Table of Contents 6
- Supplied Accessories 8
- Front Display 9
- Front Side 9
- LED Indicators 9
- Rear Panel Connectors 10
- Rear Panel Connectors (Cont.) 11
- Controls 12
- Antenna Input 13
- Connect the Audio Cables 14
- Connect the Video Cables 14
- Installation 14
- Connection to RGB PC Monitor 16
- Connect the HDMI Cable 17
- Remote Control 21
- Remote Control (Cont.) 22
- Channel Information 24
- Channel Guide (EPG) 25
- Channel Status 26
- Channel List 27
- Timeshift Control 28
- On Screen Display 29
- Timer Record List 30
- Program List 31
- Program List (Rename) 32
- Playback Control 33
- Closed Caption 35
- Teletext 36
- PIP Control 37
- Channel Edit 38
- Channel Scant 39
- Manual Scan 40
- Channel Sorting 41
- Channel Duplication 42
- Parental Rating 43
- HDMI Video 44
- HDMI Audio 45
- Monitor Setup 46
- Digital Audio Out 47
- PIP Size 48
- Vol. Control 49
- Skip Time 51
- HDD Sleep Time 52
- HDD Format 53
- Time Zone 55
- Daylight Saving 56
- Sleep Timer 57
- New Password 58
- Factory Default 59
- Specifications 61
- NEC Service Centres 62
Summary of Contents
HIGH DEFINITION RECEIVER / RECORDERModel : NHD-3000PVR
Antenna InputPower Cord8Controls◈ Note. Connection of input/output connector in rear panel should be done while power is OFF.Rear Panel Connectors04
Service PortA/V Output9Rear Panel Connectors (Cont.)04ControlsThe service port is for maintenance and software upgrade in the future.The ‘A/V output’
10ControlsBattery Installation for Remote Control04 Remove the battery cover and install batteries like the diagram below.1. Unlatch the battery comp
Connecting Antenna11Antenna Input 05InstallationConnect the antenna or RF cable wire directly to ANTENNA1 IN and connect ANTENNA1 Loop Out to
Connect the Audio CablesConnect the Video Cables12InstallationConnection to Digital TV (YPbPr)05 Connect an audio cable between the L/R Audio output j
Connect the Audio CablesConnect the Video Cables13Connection to Digital TV (RGB/HV)05InstallationConnect an audio cable between the L/R Audio
Connect the Audio CablesConnect the Video Cables14InstallationConnection to RGB PC Monitor05 Connect an audio cable between the L/R Audio output jack
Connect the HDMI Cable15Connection to Digital TV (HDMI/DVI)05InstallationConnect the HDMI/DVI output jack of the STB to the HDMI input jack of the dig
Connect the Audio CablesConnect the Video Cables16InstallationConnection to HDMI/DVI PC Monitor05 Connect an audio cable between the L/R AUDIO output
Connect the Audio CablesConnect the Video Cables17Connection to Analog TV (Composite/S-Video)05InstallationConnect an audio cable between the L/R Audi
HIGH DEFINITION RECEIVER / RECORDERModel : NHD-3000PVRUSER’S MANUAL
Connect the Digital Audio Output18InstallationConnection to Digital Audio Amplifier05 Connect audio cables from the OPTICAL or COAXIAL digital
19Remote Control06Basic OperationAspect RatioMenuMuteVOL + / -NumberPower TV/RadioFavourite CH Add/DelRecallExitInfo / GuideArrow Left /RightDrag -
Press to turn Closed Captions on / off.Channel Number Buttons from #0 to #9. Press to directly tune to a particular channel.Button DescriptionPress on
Remote Control (Cont.)0621Basic OperationButton DescriptionPress to change the output video format from one of resolutions, such as 1080i, 720p,576p o
22Channel InformationOn Screen Display07Press the INFO button to display the following screen.1. RF Signal Strength2. Channel Number3. A/V Info.4. Cu
23Channel Guide (EPG)On Screen Display07Press INFO/GUIDE button twice to select Channel Guide (EPG).1. Press INFO/GUIDE button twice.2. Press ▲, ▼,
0724On Screen DisplayPress MARK(STATUS) button to display current channel status and information.Press MARK(STATUS) button to display main chan
Channel List0725On Screen Display For channel change, add or delete1. Press LIST or OK button.2. Press ▲,▼ button to highlight ‘Channel List’.3. Pre
26Timeshift ControlOn Screen Display07 Press T.SHIFT button to start timeshift.※ When Timeshift is ON, you can see a logo on the left ( ). If you
0727On Screen Display Press REC/EDIT button to select recording time.This NHD-3000PVR has two digital tuners in it. One can be displayed as MAIN pict
1Warnings01WarningsRead Instructions : All the safety and operating instructions should be read before the product is operated.Retain Instructions : T
28Timer Record ListOn Screen Display07Show the Timer Record List.※ The T.REC button is recorded at Tuner #1 (PIP).※ A thumbnail picture will be disp
0729On Screen DisplayShow the Program List.1. Press P.LIST button to playback a recorded program.2. Use ◀, ▶ button to select a program.3. Press OK b
1. : Capital Letter, Small Letter, Number.2. : Refer to the letters in remote control.3
Control Playback.Choose Program List : Press P.LIST button or go to MENU and choose a ‘Program List’.Slow Motion : For slow motion press PLAY/SLOW [
32EDIT Control (Repeat, Cut, Split)On Screen Display07 Control Repeat, Cut & Split.※ If a cut needs to be done in the beginning / at the end of t
33Closed CaptionOn Screen Display071. To turn on or off caption press CC button.2. Every time CC button is pressed, ‘Caption On’ icon or ‘Caption Off’
0734TeletextPress ▲,▼ button to turn pages up and down, press number 100 to 899 to turn the direct numberpage.1. Press TTX button to display current t
On Screen Display35PIP Control07 Control PIP channel.※ While recording a program, PIP window always displays the program under record. And in this ca
Memorize your choice of channels.※ Once Favourite channels are selected, they can be changed by pressing FAV CH +/--button.※ Use OK button to make s
37Channel ScantChannel08Have an automatic channel set up. The Auto Search selects currently available channels. 1. Press MENU button.2. Use ▲,▼ butto
7.8.9.10.11.12.13.14.15.16.17.18.19.Warnings201WarningsWater and Moisture : Do not use the product near water - for example, near a bath tub, wash bow
Have an manual channel set up.※ After selecting the physical number/frequency, if a signal is received correctly, a message of “LOCK”will be displaye
39Channel SortingChannel08Select Channel Sorting Method.1. Press MENU button.2. Use ▲,▼ button to highlight ‘’icon, then press OK.3. Use ▲,▼ button t
Channel Duplication0840Channel Select Channel Duplication Option.1. Press MENU button.2. Use ▲,▼ button to highlight ‘’icon, then press OK.3. Use ▲,▼
41Parental RatingChannel08Set Parental Guidance Rating.1. Press MENU button.2. Use ▲,▼ button to highlight ‘’icon, then press OK3. Use ▲,▼ button to
Control HDMI video output.1. Press MENU button.2. Use ▲,▼ button to highlight ‘’icon, then press OK. 3. Use ▲,▼ button to highlight ‘HDMI Video’, the
43HDMI AudioAudio / Video09Control HDMI audio output.1. Press MENU button.2. Use ▲,▼ button to highlight ‘’icon, then press OK. 3. Use ▲,▼ button to
Adjust display position.1. Press MENU button.2. Use ▲,▼ button to highlight ‘’icon, then press OK.3. Use ▲,▼ button to highlight ‘Monitor Setup’, th
45Audio / Video09Digital Audio Out1. Press MENU button.2. Use ▲,▼ button to highlight ‘’icon, then press OK.3. Use ▲,▼ button to highlight ‘Digital Au
Set up the PIP size.※ Press MENU button to exit the menu screen.※ Press EXIT button to switch to previous step on the menu screen.0946Audio / VideoP
Audio / Video4709Vol. Control1. Press MENU button.2. Use ▲,▼ button to highlight ‘’icon, then press OK.3. Use ▲,▼ button to highlight ‘Vol. Control’,
320.21.22.23.Warnings01Warningsb) If liquid has been spilled, or objects have fallen into the product.c) If the product has been exposed to rain or wa
1048PVR ManagerProgram List The Program List shows the recorded programs.(You can also bring up the Program List by pressing the P.LIST button on the
PVR Manager4910Skip Time1. Press MENU button.2. Use ▲,▼ button to highlight ‘’icon, then press OK.3. Use ▲,▼ button to highlight ‘Skip Time’, then pre
50PVR Manager10HDD Sleep Time Set up how much time the HDD will be powered on after the HDD has no works to do.1. Press MENU button.2. Use ▲,▼ button
51PVR Manager10HDD Format Formats the HDD. All the recorded programs will be deleted.1. Press MENU button.2. Use ▲,▼ button to highlight ‘’icon, then
52System11Opacity Control opacity (transparent) of menu screen.1. Press MENU button.2. Use ▲,▼ button to highlight ‘’icon, then press OK.3. Use ▲,▼
Time Zone53System11 Select time zone.1. Press MENU button.2. Use ▲,▼ button to highlight ‘’icon, then press OK.3. Use ▲,▼ button to highlight ‘Time Z
54System11Daylight Saving Select daylight saving.1. Press MENU button.2. Use ▲,▼ button to highlight ‘’icon, then press OK.3. Use ▲,▼ button to highl
Sleep Timer55System11 Select the time in which the unit is to be turned off.1. Press MENU button.2. Use ▲,▼ button to highlight ‘’icon, then press OK
56System11New Password Change the 4-digit password.1. Press MENU button.2. Use ▲,▼ button to highlight ‘’icon, then press OK.3. Use ▲,▼ button to hig
Factory Default57System11 Set Factory Default.1. Press MENU button.2. Use ▲,▼ button to highlight ‘’icon, then press OK3. Use ▲,▼ button to select Fa
4Table of Contents02Table of Contents01.02.03.04.05.06.07.WarningsTable of ContentsSupplied AccessoriesControlsFront Panel Controls and LEDsRear Panel
About58System11 Show the software version and date.1. Press MENU button.2. Use ▲,▼ button to highlight ‘’icon, then press OK.3. Use ▲,▼ button to hig
59Specifications12SpecificationsSPECIFICATIONSITEMAntenna input 2ea & Loop Output 2eaComponent (Y, Pb, Pr) Output 1setHDMI/DVI Output 1eaRGB/HV Ou
NEC Service CentresNEC Australia Pty. Ltd.ABN 86 001 217 527DISPLAY AND HOME GROUPNew South WalesSydney 184 Milperra Rd, Revesby 2212 131-632Newcastle
Table of Contents08.09.10.11.12.TeletextPIP ControlChannelChannel EditChannel ScanManual ScanChannel SortingChannel DuplicationParental RatingAudio/Vi
4. Component Video Cable 5. Audio Cable(L/R)6.HDMI Cable7. RF Loop Cable1. Remote Control2. Batteries (size AAA)3. User’s Guide6Supplied Accessories03
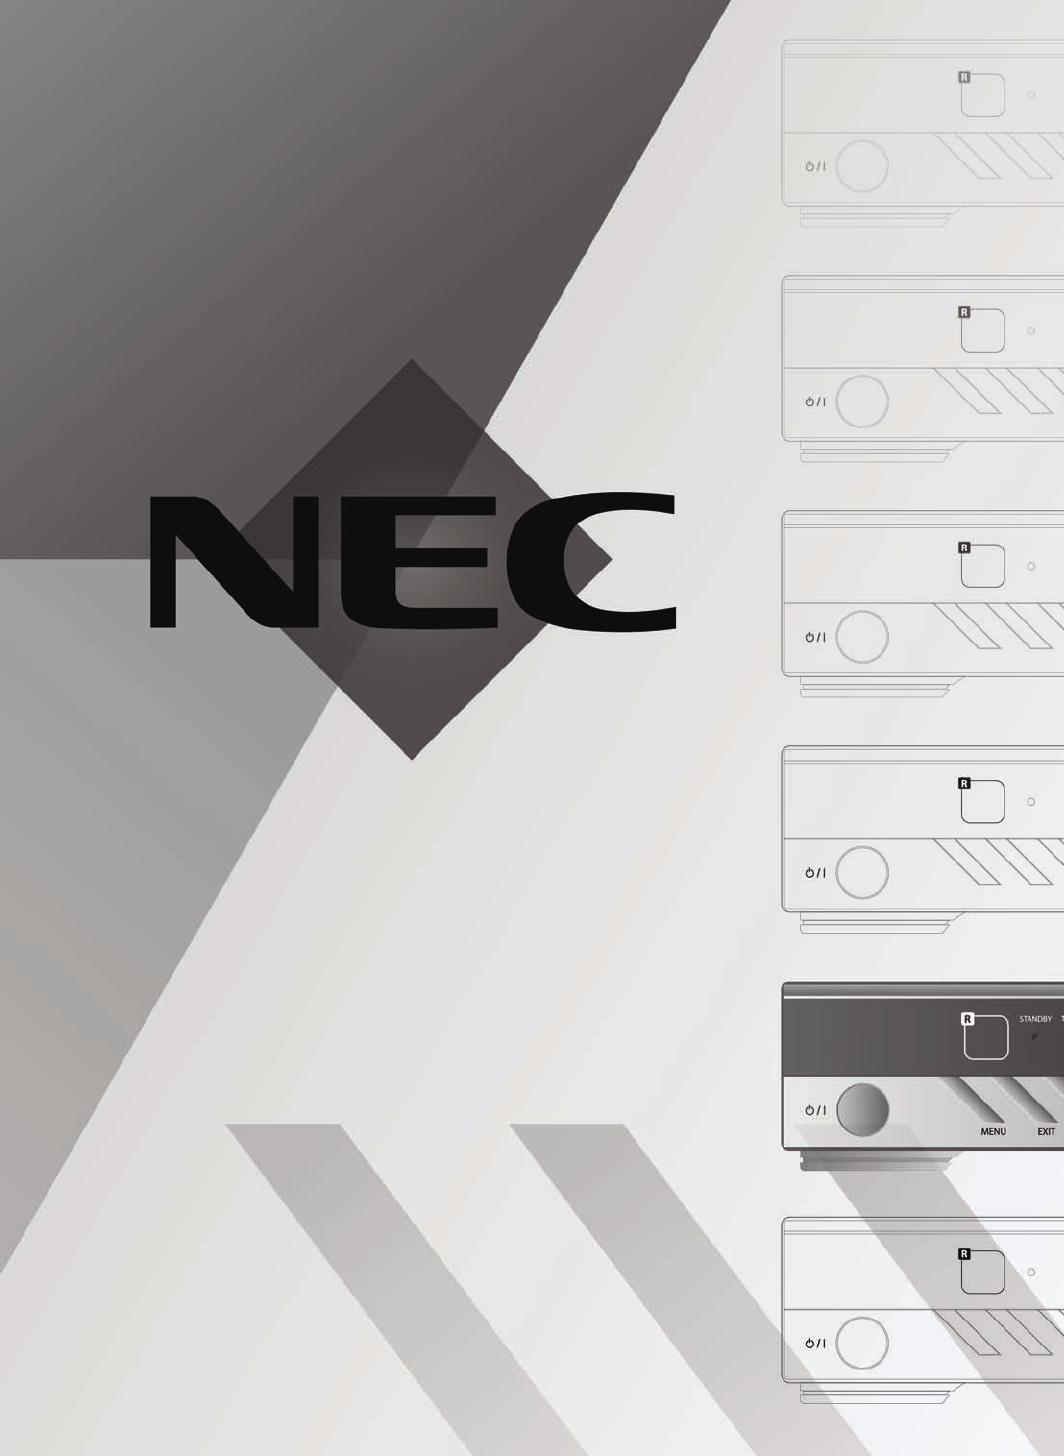
PowerMenuExitOKArrow ButtonsButtonsFront DisplayPower OnPower OffEXIT Remote Control SensorPOWERFront Side7Front Panel Controls and LED’sControlsMENUF
Related products and manuals for TV set-top boxes NEC NHD-3000PVR
 (15 pages)
(2 pages)
(15 pages)
(2 pages)
© 2020, manymanuals.com. All rights reserved. | 3.285 s |
 Manymanuals.com
 Manymanuals.de
 Manymanuals.fr
 Manymanuals.it
 Manymanuals.pl
 Manymanuals.cz
 Manymanuals.es
 Manymanuals-pt.com
Comments to this Manuals