NEC MultiSync PA271W User Manual
Browse online or download User Manual for TVs & monitors NEC MultiSync PA271W. NEC MULTISYNC PA271W User's Manual [en]
- Page / 37
- Table of contents
- TROUBLESHOOTING
- BOOKMARKS
- MultiSync PA241W 1
- MultiSync PA271W 1
- Declaration 3
- Compliance Statement 4
- Declaration of Conformity 4
- Product Features 5
- Contents 5
- Quick Start 6
- Figure C.1 7
- Figure C.1a 7
- Figure C.2 Figure C.3 7
- Figure D.1 8
- Figure E.1 8
- Figure RL.1 8
- Screen Rotation 9
- Flexible Arm Installation 10
- Controls 11
- Brightness/Contrast Controls 12
- Image Controls 12
- Color Control Systems 13
- *1 Only for PA241W 14
- MENU Tools 15
- ECO Information 16
- Information 16
- OSD Warning 16
- Advanced OSD 18
- (Analog 21
- Tile Comp ONTile Comp OFF 24
- Recommended use 26
- English-26 28
- English-27 29
- Features 30
- Troubleshooting 32
- Figure 1 Figure 2 Figure 3 34
- Figure 4 34
- TCO’03 (for MultiSync PA271W) 35
- Congratulations! 35
- Energy Saving 37
Summary of Contents
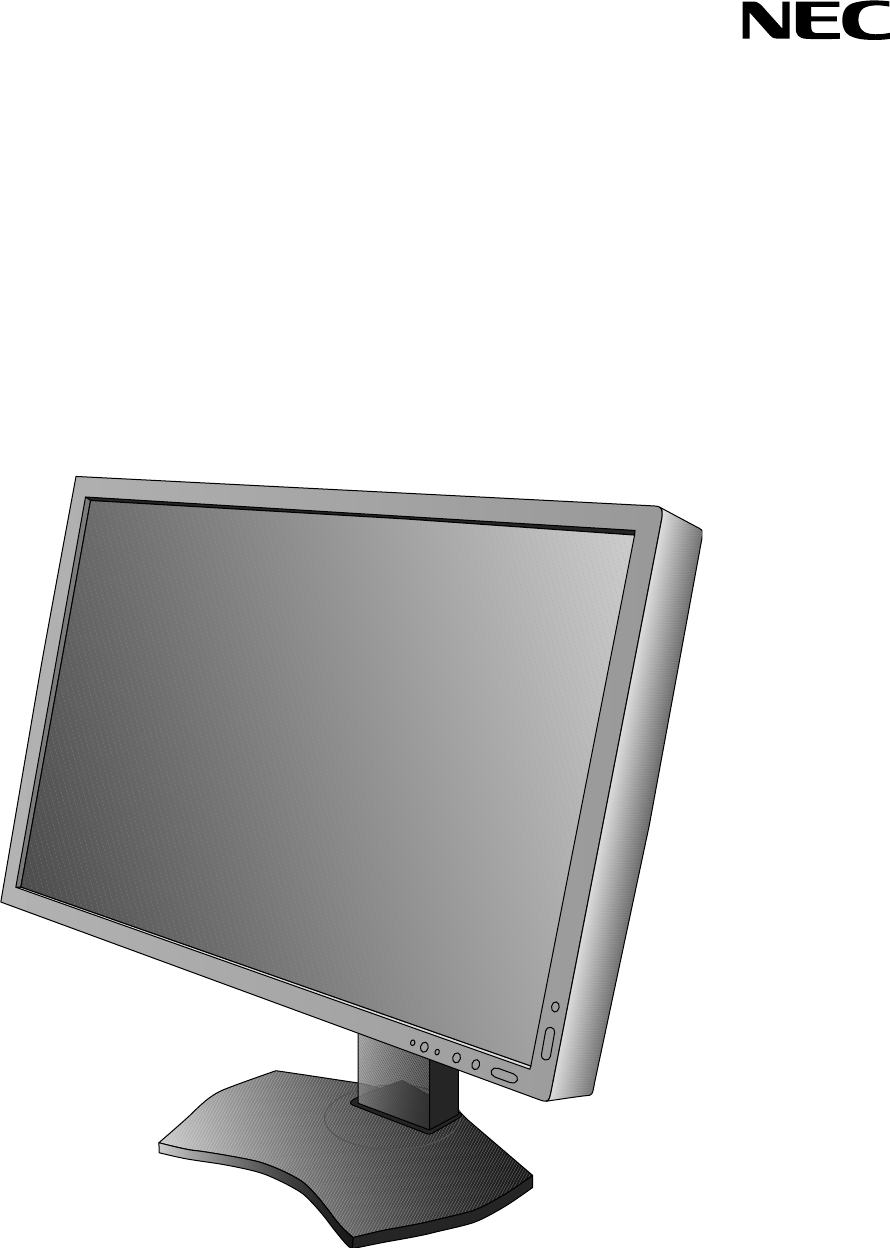
MultiSync PA241WMultiSync PA271WUser’s Manual
English-8Figure S.1Remove Monitor Stand for MountingTo prepare the monitor for alternate mounting purposes:1. Disconnect all cables.2. Place hands o
English-9EnglishControlsOSD (On-Screen Display) control buttons on the front of the monitor function as follows:To access OSD menu, press the MENU but
English-10 Brightness/Contrast ControlsBRIGHTNESSAdjusts the overall image and background screen brightness.NOTE: The brightness level is adjusted us
English-11EnglishFINE (Analog input only)*1Improves focus, clarity and image stability by increasing or decreasing this setting.If the “Auto Adjust fu
English-12 ToolsPIP MODESelect PIP MODE, OFF/PIP/PICTURE BY PICTURE - ASPECT/PICTURE BY PICTURE - FULL. You can select individual PICTURE MODE in each
English-13EnglishOFF MODEThe Intelligent Power Manager allows the monitor to enter into a power saving mode after a period of inactivity. The OFF MODE
English-14FACTORY PRESETSelecting Factory Preset allows you to reset all OSD control settings (BRIGHTNESS, CONTRAST*1, ECOMODE, BLACK, IMAGE CONTROL,
English-15EnglishUsing the PICTURE MODE functionChoose the Picture mode that is most suitable for the type of content that is shown.There are several
English-16Advanced OSDIf you need detailed information about the controls, please use the advanced menu.There are 2 ways to access the advanced menu.W
English-17EnglishGAMMA Allows you to manually select the brightness level of grayscale. There are fi ve selections: sRGB, L Star, DICOM, PROGRAMMABLE a
IndexWarning, Caution ...Englis
English-18Tag2 SHARPNESS This is a digital capability for keeping a crisp image at all signal timings. It continuously adjusts to maintain as distinc
English-19EnglishTag4*1(Analog input only)AUTO ADJUST*2 Automatically adjusts the Image Position and H.Size settings and Fine settings.Press “SELECT”
English-20V.RESOLUTION Adjusts the vertical size by increasing or decreasing the setting. Press “Right” button to expand the height of the image on t
English-21EnglishOSD LOCK OUT*2 This control completely locks out access to all OSD control functions. When attempting to activate OSD controls while
English-22DDC/CI DDC/CI ENABLE/DISABLE: Turns on or off the two way communication and control with connected PC by video cable.NOTE: Set DDC/CI to ENA
English-23EnglishTagB CARBON SAVING Displays the estimated carbon savings information in kg.COST Displays the electricity cost savings in balance.CAR
English-24Recommended useSafety Precautions and MaintenanceFOR OPTIMUM PERFORMANCE, PLEASE NOTETHE FOLLOWING WHEN SETTING UP AND USING THE LCD COLOR M
English-25EnglishCORRECT PLACEMENT AND ADJUSTMENT OF THE MONITOR CANREDUCE EYE, SHOULDER AND NECK FATIGUE. CHECK THEFOLLOWING WHEN YOU POSITION THE MO
English-26Specifi cations - PA241WMonitor Specifi cations MultiSync PA241W NotesLCD Module Diagonal: Viewable Image Size: Native Resolution (Pixel Co
English-27EnglishSpecifi cations - PA271WMonitor Specifi cations MultiSync PA271W NotesLCD Module Diagonal: Viewable Image Size: Native Resolution (P
English-1EnglishWARNINGCAUTIONCAUTION: TO REDUCE THE RISK OF ELECTRIC SHOCK, MAKE SURE POWER CORD IS UNPLUGGED FROM WALL SOCKET. TO FULLY DISENGAGE
English-28FeaturesDisplayPort: DisplayPort is designed to be the future-ready, scalable solution for high performance digital display connectivity. It
English-29EnglishUSB 2.0 hub adds excitement to your computing by connecting you to digital cameras, scanners and more.Environmental Impact: Annual ty
English-30TroubleshootingNo picture• The signal cable should be completely connected to the display card/computer.• The display card should be compl
English-31EnglishNo Video• If no video is present on the screen, turn the Power button off and on again.• Make certain the computer is not in a powe
English-32Using the Auto Brightness functionThe brightness of the LCD screen can be set to increase or decrease depending on the amount of ambient lig
English-33EnglishTCO’03 (for MultiSync PA271W)Congratulations!The display you have just purchased carries the TCO’03 Displays label. This means that y
English-34TCO Displays 5.0 (for MultiSync PA241W)Congratulations!This display is designed for both you and the planet!The display you have just purcha
English-35EnglishNEC DISPLAY SOLUTIONS is strongly committed to environmental protection and sees recycling as one of the company’s top priorities in
English-2Canadian Department of Communications Compliance StatementDOC: This Class B digital apparatus meets all requirements of the Canadian Interfer
English-3EnglishProduct Features• DisplayPort, which supports 10-bit color depth.• 5-setting, easy-to-switch picture mode (see page 11).• Accurate
English-4Quick StartTo connect the LCD monitor to your system, follow these instructions:1. Turn off the power to your computer.2. For a PC or MAC w
English-5English4. Connect all cables to the appropriate connectors (Figure C.1). When using the USB cable, connect the B type connector to the USB u
English-67. Slide down the cable cover (Figure D.1). 8. Connect one end of the power cord to the AC inlet on the back of the monitor and the other e
English-7EnglishScreen RotationBefore rotating, the screen must be raised to the highest level and tilt to avoid knocking the screen on the desk or pi
Related products and manuals for TVs & monitors NEC MultiSync PA271W
 (6 pages)
(17 pages)
(6 pages)
(17 pages)


 (96 pages)
(34 pages)
(24 pages)
(96 pages)
(34 pages)
(24 pages)
© 2020, manymanuals.com. All rights reserved. | 0.075 s |
 Manymanuals.com
 Manymanuals.de
 Manymanuals.fr
 Manymanuals.it
 Manymanuals.pl
 Manymanuals.cz
 Manymanuals.es
 Manymanuals-pt.com
Comments to this Manuals